
Learn how to set up prepop email lead capture in 7 simple steps. Boost conversions by creating a seamless experience for your users.
Are you getting plenty of traffic but struggling to turn visitors into leads? You’re not alone, this is a common problem for startups and innovative businesses. Often, people enjoy your website and engage with your content, but when it comes to filling out forms, they hesitate.
That’s where prepopulated email lead capture comes in. It’s a simple way to make the process easier for users, which can really boost your conversions.
In this article, I’ll walk you through my experience with this strategy and break it down into straightforward steps you can follow. By the end, you’ll know exactly how to build a lead capture system that actually works for your startup (or any other business).
Article Breakdown
Step 1: Choosing the Right Tool
Every great system starts with the right foundation. For prepopulated email lead capture, I tested several tools, including Mailmunch, Instapage, and HubSpot. Ultimately, I settled on Mailmunch because of its intuitive interface and robust integration options.
Why Tools Matter
Think of your lead capture tool as the vehicle for your journey. Choose one with smooth handling, reliability, and the features you need. A good tool allows for dynamic form customization, URL parameter pre-fill capabilities, and CRM integration to automate your workflow.
I linked Mailmunch with my CRM to automatically sync new leads into my email campaigns. This eliminated manual data entry and ensured every lead was nurtured.
Key Tip: Choose a platform that offers A/B testing so you can experiment with form placements, designs, and strategies.
Step 2: Setting Up URL Parameters
Here’s where the magic happens. Prepopulated forms rely on URL parameters to dynamically fill out fields based on user data.
How It Works
Imagine you send a marketing email to a potential lead. The link in your email might look like this:
https://mywebsite.com/form?email=jane.doe@example.com&name=Jane+Doe
When Jane clicks the link, her email and name are automatically pre-filled in the form, saving her time and effort.
I ran a campaign targeting returning visitors, embedding pre-filled links in the email. The response was incredible. Users appreciated the reduced friction, and submission rates shot up by 40%.
Jane opens my email, clicks the link, and sees her name and email already in the form. She only needs to click “Submit.” Easy, right?
Pro Tip: Always test your pre-filled links on different devices to ensure they work seamlessly.
Step 3: Adding Gamification
People love interactive experiences. By gamifying my lead capture process, I transformed it from a chore into a fun activity.
What I Did
I added a spinwheel to my landing page, offering discounts in exchange for email addresses. Users could spin the wheel and win rewards like 10% off, free shipping, or exclusive content.

A visitor lands on my page, spins the wheel, and wins a 15% discount. To claim their prize, they enter their pre-filled email address.
Results
The spinwheel increased engagement by 70%. It also created a buzz, with visitors sharing their “wins” on social media.
Pro Tip: Keep the rewards enticing but achievable. A discount or exclusive content works wonders.
Step 4: Matching Lead Capture to Content Intent
One size doesn’t fit all. Tailoring your lead capture forms to the context of your content makes a massive difference.
My Approach
For each blog post, I created a unique lead magnet. For example, on a post about social media strategies, I offered a downloadable “30-Day Social Media Calendar.” The form was pre-filled with visitor data to make it even easier.
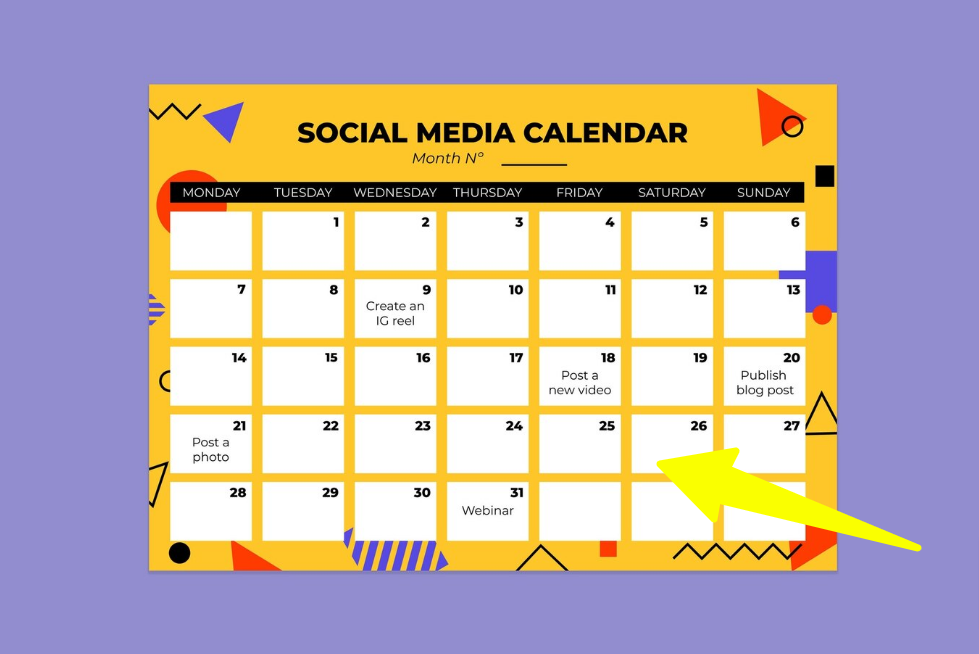
A reader engages with my “10 Instagram Tips” post. They see a CTA for the calendar, click it, and their pre-filled details appear in the download form.
Results
This personalization boosted my download rate by 25% and improved the quality of leads, as they were genuinely interested in the topic.
Aligning lead magnets with your audience’s intent shows you understand their needs and builds trust.
Step 5: Using Multi-Step Forms
Multi-step forms might seem counterintuitive – more steps should mean more friction, right? Surprisingly, they’re incredibly effective when done right.
Why They Work
Breaking a form into smaller chunks reduces the perceived effort. It feels less overwhelming and keeps users engaged.
My Experiment
I implemented a two-step form for my webinar signup:
- First step: Name (pre-filled for returning users).
- Second step: Email (also pre-filled).
The transition between steps was smooth, with a progress bar to show completion.
Results: Completion rates increased by 15%. Users appreciated the simple, conversational flow.
Pro Tip: Always pre-fill as much information as possible to make multi-step forms effortless.
Step 6: A/B Testing Placement and Design
Not all forms are created equal, and their placement can make or break your lead capture efforts. I tested multiple placements to find what worked best.
What I Tested
- Popups: Triggered after 15 seconds on the homepage.
- Embedded Forms: Placed at the end of blog posts.
- Exit-Intent Popups: Appeared when users were about to leave.
Results
Popups outperformed embedded forms, accounting for 60% of total leads. Exit-intent popups also worked well, capturing users who were on the fence.
A visitor reads my blog, decides to leave, and is greeted with an exit-intent popup offering a free resource. Their pre-filled details make signing up a breeze.
Pro Tip: Use contrasting colors and a clear CTA to draw attention to your forms.
Step 7: Analyzing and Refining
No strategy is complete without ongoing analysis. I used tools like Google Analytics and my CRM’s built-in tracking to measure performance.
Metrics to Monitor
- Submission Rates: How many visitors complete the form?
- Engagement Time: Are users spending more time on pages with lead capture forms?
- Lead Quality: Are the captured leads converting into customers?
My Results
Through analysis, I discovered that personalization (via pre-filling) and gamification had the highest impact on conversions. Adjustments based on A/B testing further improved results.
Pro Tip: Continuously iterate. What works today might not work tomorrow.
Final Results of My Experiment
I tested a few strategies this past month, and here’s what I found:
- I captured 1,200 leads, compared to 700 the month before.
- Form completions went up by 35%.
- People spent 20% more time on pages with gamification features.
This experiment really showed me how effective prefilled forms and personalized, engaging content can be.
Best Practices for Prepopulated Email Lead Capture
- Make Sure It Works Everywhere: Check that your pre-filled forms work seamlessly on phones, tablets, and computers.
- Keep It Simple: Only ask for the most important details, don’t overcomplicate it.
- Be Honest About Privacy: Add a privacy notice so users know how their data will be used.
- Make It Look Good: Use visuals like progress bars, icons, or clean designs to make the form more engaging.
Key Takings
- Setting up a pre-filled email lead capture system might seem tricky, but trust me, it’s worth it.
- By making things easier, personalizing the experience, and adding fun elements like gamification, you’ll start seeing results.
- Honestly, this approach completely changed how I think about lead generation.
- Give it a try, start small, test one idea at a time, and watch your email sign-ups grow.
Useful Articles:
- 9 Lead Form Optimization Tactics to Boost Conversions: Transform your lead forms into powerful conversion tools with these proven strategies.
- Email Marketing Best Practices for Opt-In Forms: Master the art of creating opt-in forms that effortlessly grow your email list.
- 5 Lead Form Optimization Strategies: Unlock the secrets to maximizing lead form performance with these expert-recommended tips.
- 11 Email Capture Best Practices to Follow in 2025: Stay ahead in email marketing with these essential lead capture techniques.
- 8 Email Opt-In Strategies Perfect for Small Businesses: Discover simple and effective opt-in practices designed to fuel small business growth.