Learn how to check uneven tile flooring alignment tool to ensure flawless tiles. Discover tips and tools to fix alignment issues easily.
I tried to tile my bathroom floor myself a couple of years ago. I didn’t realize how important leveling was, and, well, let’s just say it didn’t come out great. I had to rip it all up and start over again from scratch.
Uneven tiles can ruin any tiling project. Whether it’s a small wobble when you walk or those obvious gaps that scream “rookie mistake,” it’s frustrating. I know because I’ve been there.
A few years ago, I thought I’d try tiling my first home myself. Long story short, I didn’t realize how important proper alignment was, and it ended up costing me hours of frustration (and let’s be honest, my pride took a hit too).
Now? I’ve learned the right tools and techniques to make tiling easier and get perfect results. It’s like choosing precise business tools for a project, you need the right ones to avoid mistakes and save time. If you’re dealing with uneven tiles and wondering what went wrong, don’t worry, you’re in the right place. Let’s go over how to check and fix them step by step.
Article Breakdown
Why Do Tiles End Up Uneven, and Why Is It Important to Fix Them?

Why Tiles End Up Uneven
If your tiles are uneven, it’s likely due to an uneven subfloor or improperly spread adhesive. Did you use alignment tools? Uneven tiles often result from a few common mistakes, and addressing these can make a big difference.
- The Subfloor Isn’t Prepped Properly: If the subfloor isn’t completely level, no matter how careful you are, the tiles won’t sit right.
- Uneven Glue: If you don’t spread the adhesive evenly, you’ll end up with some tiles higher or lower than others.
- Skipping Tools: If you skip using alignment tools and just “eyeball it,” it’s easy to end up with tiles at different heights (also called lippage).
The Results
Uneven tiles aren’t just ugly, they can cause all sorts of problems:
- They’re dangerous, especially for kids or older people who might trip.
- They can cause tiles to crack over time because of uneven weight.
- They can even lower your home’s value and make inspections difficult.
Once I realized how much these details could affect my renovation, I knew I had to approach it differently.
The Tools You Need to Check and Align Tiles
When I started my tiling journey, I thought a ruler and my trusty eye would do the trick. Spoiler: it didn’t. Here’s what you actually need:
1. Laser Levels
A laser level is the MVP of tiling tools. It projects a straight, even line across your workspace, showing exactly where tiles deviate.
Example: The Bosch GLL 55 is precise and user-friendly, even for beginners.
2. Tile Leveling Systems
These systems were a game-changer for me. They hold tiles in place and align their edges perfectly while the adhesive sets.
- Peygran Tile Leveling System: Great for professionals and ambitious DIYers. It’s reusable, making it cost-effective in the long run.
- Spin Doctor System: Ideal for large tiles. Its spinning caps press tiles evenly into place.
- Clip-and-Wedge Systems: Affordable and straightforward for smaller projects.
Pro Tip: These tools not only prevent uneven tiles but also save you from endless frustration.
3. Manual Tools
- Spirit Levels: The old-school method that still works wonders.
- Straight Edges: Perfect for quick checks and adjustments.
4. Measuring Tapes
Before placing tiles, double-check your layout. It’s a small step that can save you big headaches.
Step-by-Step Guide to Check and Fix Uneven Tiles
This process works whether you’re mid-project or fixing existing tiles.
Step 1: Assess the Problem
- Clean the Area: Dust and debris can skew your readings.
- Check for Unevenness:
- Use a laser or straight edge to find high and low points.
- Mark problem areas with chalk for easy reference.
When I first did this, I realized my subfloor was the real culprit. No wonder my tiles wouldn’t line up!
Step 2: Correct Unevenness Before Laying Tiles
- Prep Your Subfloor:
- Use a self-leveling compound for a smooth surface.
- Apply a moisture barrier to protect against future warping.
- Test for Level:
- Run a spirit level across the area. It should stay flush at all points.
Step 3: Install Tiles with Alignment Tools
- Spread Adhesive Evenly:
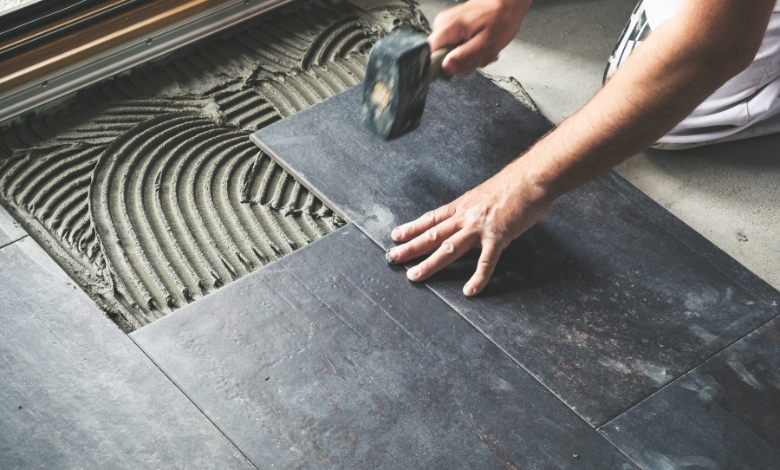
- Use a notched trowel to ensure consistent coverage.
- Align with Tools:
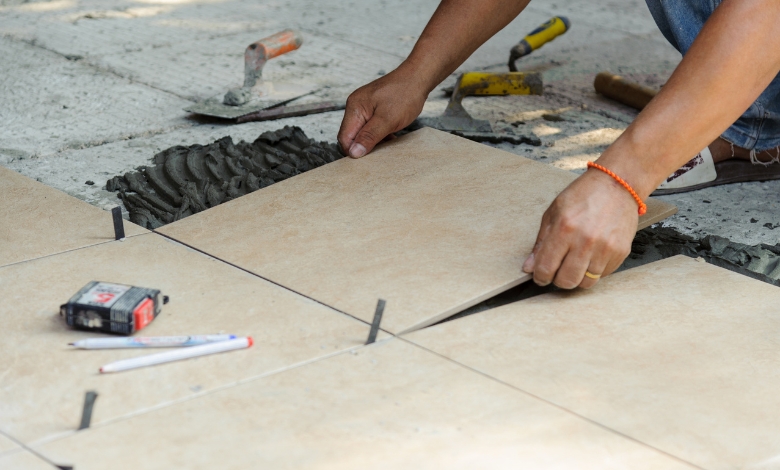
- Insert leveling clips and wedges to keep tiles perfectly even.
- For large tiles, spin caps (like in the Spin Doctor system) to press tiles into place.
During my second tiling project, this step alone transformed the outcome. No more uneven edges or wobbly tiles!
Step 4: Perform Final Checks
- Inspect with a Laser or Spirit Level:
- Adjust tiles before the adhesive sets.
- Remove Leveling Clips:
- Once the adhesive dries, remove clips and wedges gently to avoid damage.
Common Mistakes to Avoid
I learned some of these the hard way. Save yourself the trouble by avoiding these pitfalls:
- Skipping Subfloor Prep: It’s tempting to dive in, but a bad foundation ruins everything.
- Uneven Adhesive Application: Consistency is key.
- Ignoring Alignment Tools: They’re not optional, especially for larger tiles.
- Rushing the Process: Adhesive takes time to set. Be patient.
Expert Tool Recommendations for Every Experience Level
Not every tile leveling tool is made the same. Here’s a quick guide to help you choose the right one:
- Best for Beginners: Try the FROSCH Tile Leveling System, it’s simple, affordable, and perfect for learning the basics.
- Best for Professionals: Go for Peygran or Spin Doctor systems if you need tools that deliver top-level precision and efficiency.
- Best on a Budget: Look for generic clip-and-wedge systems with reusable parts to save money without compromising too much on performance.
These Are Valuable Lessons I Had to Figure Out the Hard Way
Honestly, I thought tiling would be easy, but without the leveling system, it was a nightmare. I learned the hard way how important good tools are.
When I tiled my bathroom for the first time, I thought I could skip using leveling clips. I mean, how hard could it be, right? Well, turns out, it was a disaster. The tiles came out all uneven, with corners sticking up at different heights, like a lumpy patchwork quilt. I ended up spending hours pulling them up, reapplying adhesive, and finally getting a leveling system to fix it. Moral of the story: the right tools make all the difference.
Key Takings
- Tiling is both a skill and a craft.
- With the right tools, preparation, and techniques, anyone can get professional-looking results, even if you’re doing it yourself.
- Whether you’re repairing tiles or starting a brand-new project, this guide will walk you through it step-by-step.
Useful Resources:
- 10 Common Tiling Mistakes, And How to Avoid Them: Find out the most common mistakes people make when tiling and how to avoid them so your project turns out flawless.
- DIY Your Next Tile Project: Tips & Resources: Looking to tackle a DIY tile job? These expert tips and resources will help you get it done like a pro.
- The Crucial Trio of Levelling Clips, Wedges, & Spacers: Get a professional finish on your tiles by using levelling clips, wedges, and spacers. These tools make all the difference in accuracy and precision.


